Tropy is a tool that has been on my radar for a bit as my final project group has been brainstorming strategies for gathering and organizing our sources. Basically, it’s a free software that functions as a hub for organizing and describing photos across multiple projects at once. It might not be useful for every DH project, but anyone who does DH work that involves uploading a lot of photos to the internet could benefit from it. You can also combine photos into one ‘item’, a function that suits museum/curatorial settings especially well — you can organize photos of one item from different perspectives into one place and comment on each individual view. Many of the tools that we learn in this class have more to do with the ‘processes’ or ‘presentation’ side of DH projects — after all, those are probably the aspects of DH that the traditional humanities are often least equipped to deal with. I thought, however, that it would be interesting (and personally useful) to look at a tool that sits somewhere between ‘sources’ and ‘processes’ — it’s really a research and metadata organization software.
This tutorial is an introduction to Tropy; it walks through the steps to process a photo.
1. Install the software and create a project
You can download Tropy here. Once it’s installed, launch the application, and this window will come up:
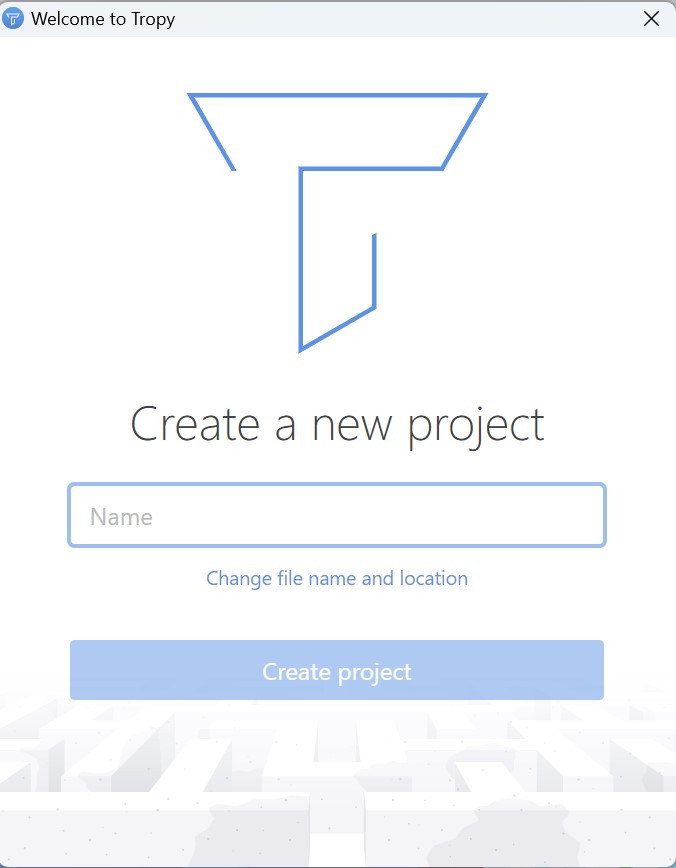
Choose a name for whatever project you’re working on. I’m interested in how Tropy might be able to help my final project group organize photos of the Carletonian, so I’m calling my project “Carletonian Corpus.”
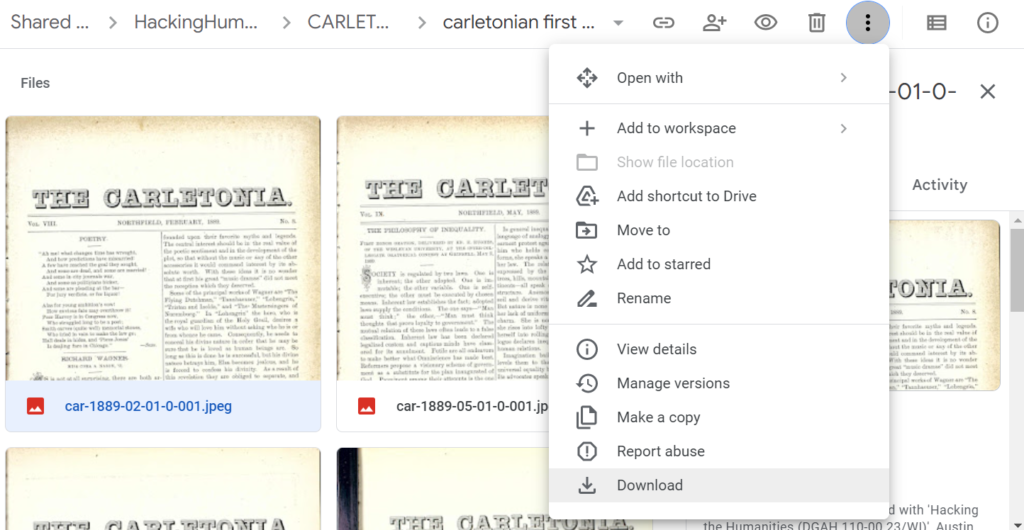
2. Make sure your photos are accessible
The photos that I want to use are stored on Google Drive, so I need to go there and download them to my computer before I can upload them to Tropy.
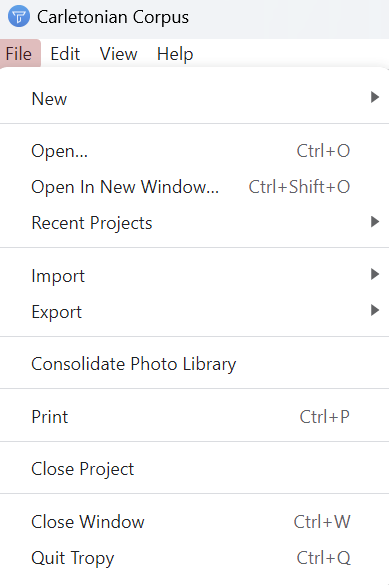
3. Import photos
Ok, now I’m ready to add content to my project by importing photos. This is the home screen for my project in Tropy; there’s nothing in it yet.

Go to File > Import > Photos, and select the photos that you want to add to your project. I’m adding the three 1889 issues that we’re sampling for now.
4. Annotate and tag photos
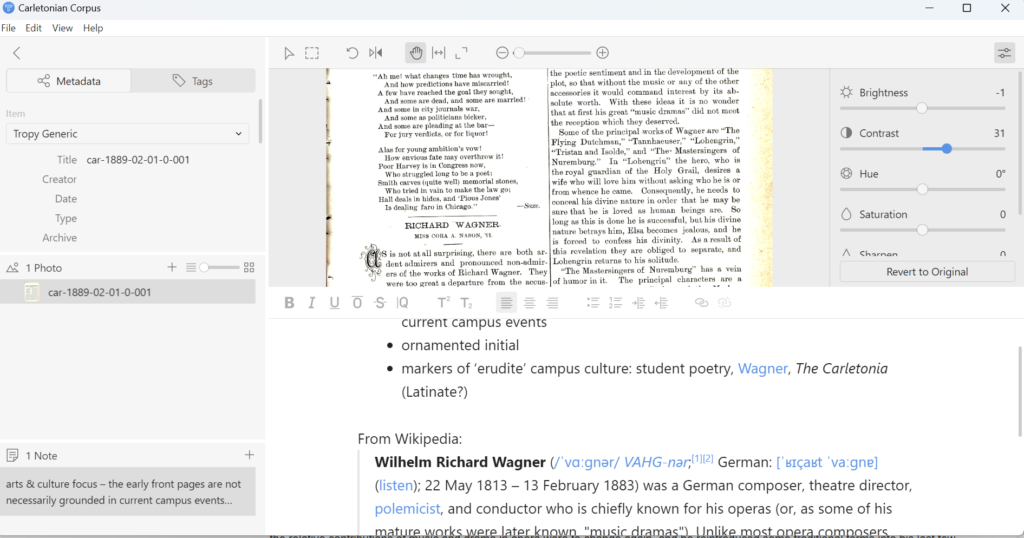
Now that there are sources in our project, we can annotate them with human observations that might not immediately come through in our corpus analysis! Click on any photo to view it and add notes. Tropy has a fairly developed annotation function. You can zoom in or out with the slider in the top menu to better read the text. I also increased the contrast in my photo so that the black text would pop more and be more legible.
In your notes, you have a variety of formatting options that you’d find in any basic word processor — italics, bold, etc. Two features that I found especially useful were the option to hyperlink text (I linked ‘Wagner’ to the relevant Wikipedia page, a handy research shortcut that connects the installed software and the web) and to add block quotes.
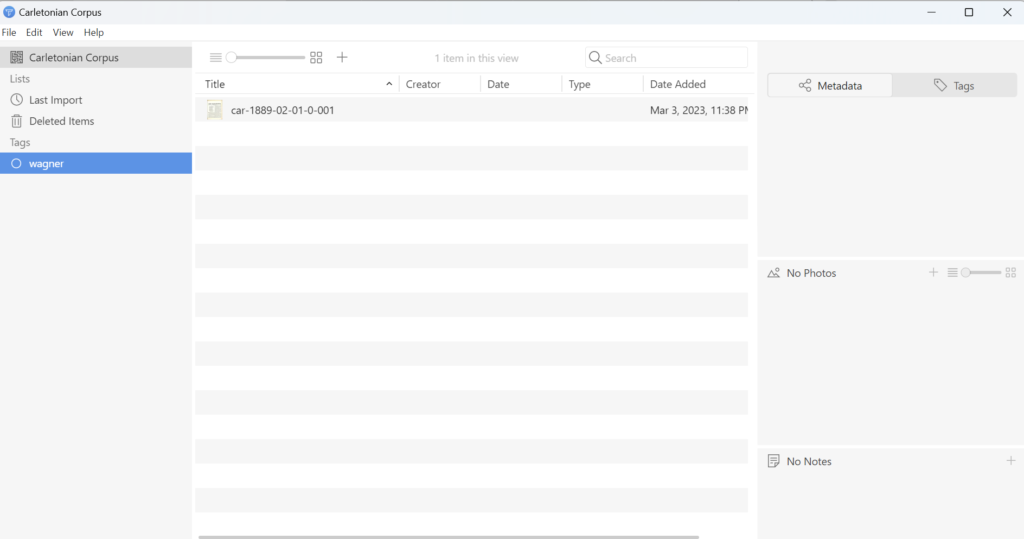
In the menu on the left, you can edit the photo’s metadata and tags. I tagged this photo ‘Wagner’, just for the sake of an example.
5. Sort your photos by tag
This is where it gets really handy, in my opinion: when you’re back at the home screen for your project, you can use the left menu to filter your photos by tag. It’s a little silly when the tag is as specific as ‘Wagner’, but for a project like ours, it can be remarkably helpful. We’re somewhat interested, for instance, in the change in font and style in the newspaper title over the years. Moving forward, we could assign a tag to each title style and use that to organize our images according to a graphic element that our text extraction can’t recognize.
That’s about it for the basics of Tropy — I hope this is a useful guide to starting a project. There is more that the software can do, so I recommend reading about it in the developers’ Tropy documentation and support fora.
Wow, Tropy seems like a really interesting tool, especially for anyone interested in archives and museums. With large archives having thousands of photos, having any useful way to categorize and organize them would be extremely helpful. Also, your tutorial was very well done and easy to follow.
This is super useful, especially since the OCR isn’t perfect in our corpus analysis and a tool like this can be used to point out important topics visually. The hyperlink tool is also great, it incorporates our web writing skills from this class in a project that would otherwise be pretty separate from the internet world. Good find of a tool!
This is really helpful and super accessible, thank you for uploading this tutorial. I especially appreciate how thoroughly you explained each step. I’m definitely going to try and use this in the future.
I’ve never heard of this tool before but it seems quite innovative and useful, especially for your project. The organization options and ability to create annotations for specific parts of photos make it seem handy for studying past art pieces and photos of past texts and scriptures. Your tutorial was well-organized and each step was explained clearly and in-depth. Great work!
This is a really cool tutorial Becca! I’ve never heard of Tropy but it seems like a really great tool for DGAH. I liked how simple yet informative your tutorial is, I feel like I could pick up the basics of Tropy just from your tutorial. This definitely seems like a useful tool for your project. Great work!
I’m very much in the same boat. I’ve honestly never heard of Tropy before but it seems pretty useful and effective if you’ve got a lot of images you need to sort, which seems be a common occurrence in digital humanities work. Although I do have a question, can you export your sorted work to be displayed in a different program or embedded in a webpage?