
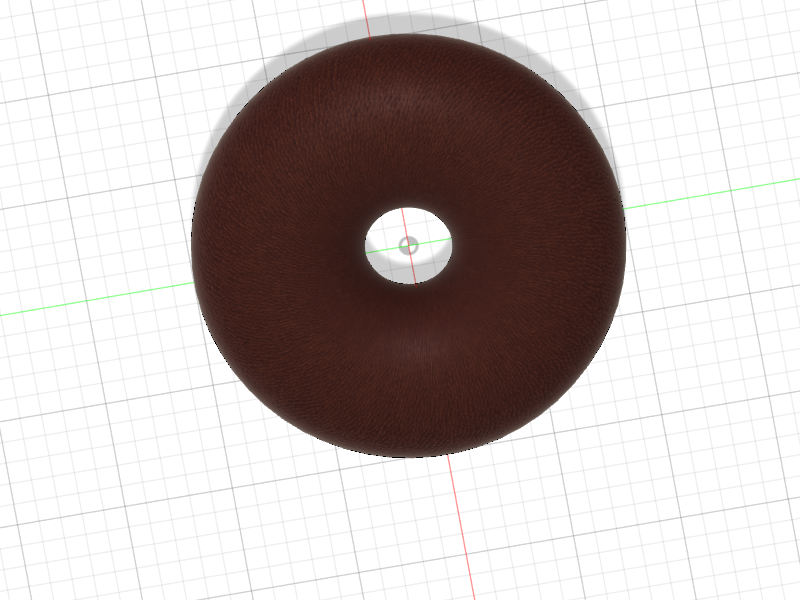
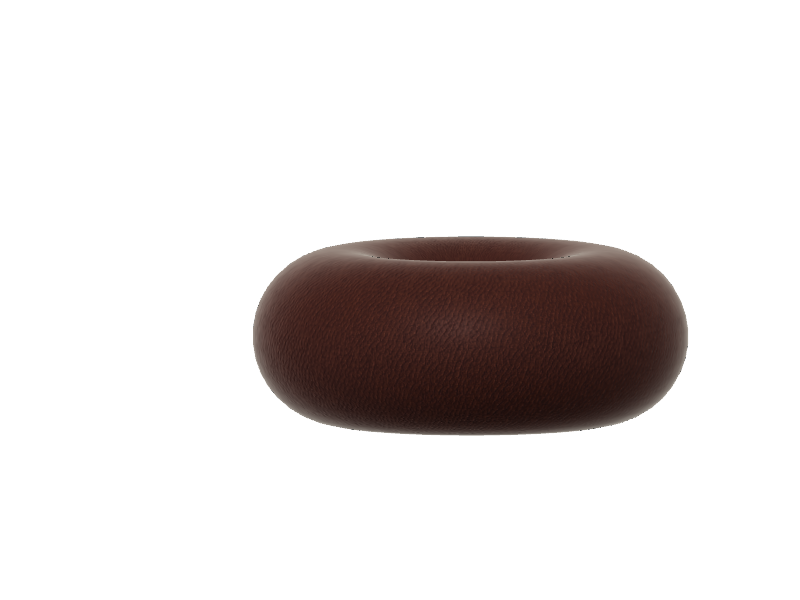
For my Week 1 Lab Assignment, I tried to recreate a chocolate donut. As it turns out, a bagel and a donut look pretty similar without any added textures.
Setting Up Fusion 360
Fusion 360 is a handy program but it’s also not the most intuitive for beginners that have no prior experience working with other CAD packages. That being said, as a beginner starting from ground zero, the hardest part of working with Fusion 360 was just trying to get my account set up. The AutoDesk education website is not the most streamlined and I encountered several errors trying to sign up for an educational account.
Not For the Faint of Hard Drive
Now I’ll admit, my laptop isn’t the most powerful machine out there but she usually doesn’t struggle with the usual applications I throw at her like it’s The Sims 3 or Adobe Photoshop. For some reason, playing around with Fusion 360 in Google Chrome was the laggiest, most slow state I’ve seen her in. From the moment I logged in, it was slow. Unfortunately, I’m a bit of a stubborn person so it took several unproductive attempts at creating my object before I finally decided to call it quits and start working on lab machines at the Libe.
Once I transitioned to working on Carleton’s speedy iMacs, the process seemed to go more smoothly. However, I still struggled with trying to find the textures I wanted and was unsure on how to go about adding additional layers. As a result, I ended up using a leather texture and my final donut appears dry and crumbly, lacking the necessary glaze.
Tips for Fellow Newbies
One really neat tool in Fusion 360 is the tiny cube in the top right corner of the application. This lets you get a perspective of your orientation as they relate to the x,y,z planes. You can click on the different faces for views perpendicular to the different axes and there’s also a home button if you get too confused.